Cisco UCS blades are not encoded with MAC address. So we need to create the MAC addresses, that are unique in their Layer 2 environment and are available to be assigned to vNICs on a server. To assign a MAC address to a blade , you have to include the MAC pool in a vNIC policy. The vNIC policy is then included in the service profile assigned to that server. You can specify your own MAC addresses or use a group of MAC addresses provided by Cisco. For each group of servers (i.e. “ESXi_Servers” etc.), create two MAC pools. One that will go out of the “A” fabric another that will go out the “B” fabric.
Create MAC pool for Fabric – A (For Sub-organization – ESXi-Pool)
1. Login to the UCS Manager .
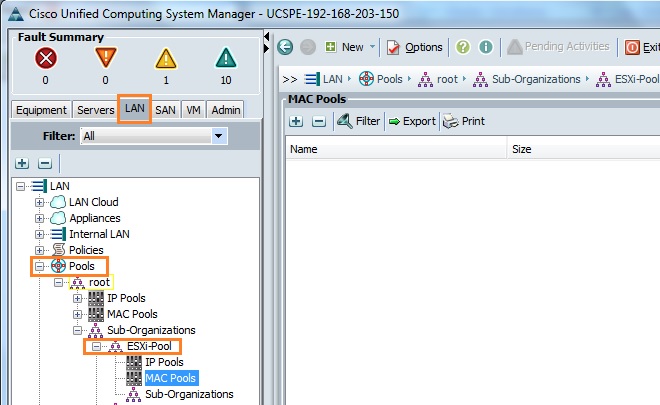
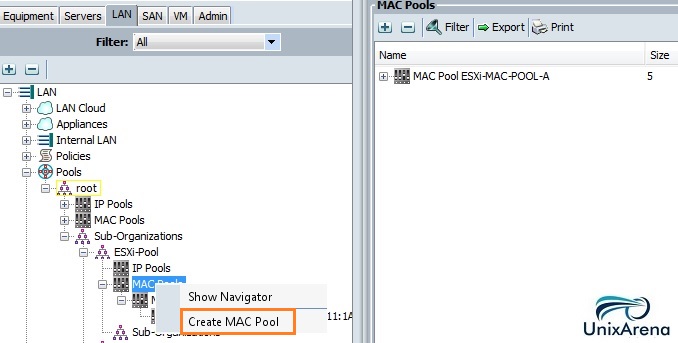
2. Navigate to LAN tab – > Pools – > root -> “Sub-organization” – > Click the “Sub-organization” which we have created.
Clik here to view.
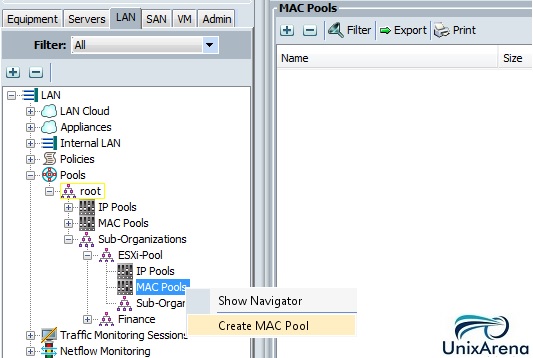
3. Right click the “MAC Pools” and click on “Create MAC pool” .
From there, give each pool a name and MAC address range that will allow you to easily identify the type of server it is (e.g. “11” for production ESXi host) and the fabric it should be going out (e.g. “A” or “B”).
Clik here to view.
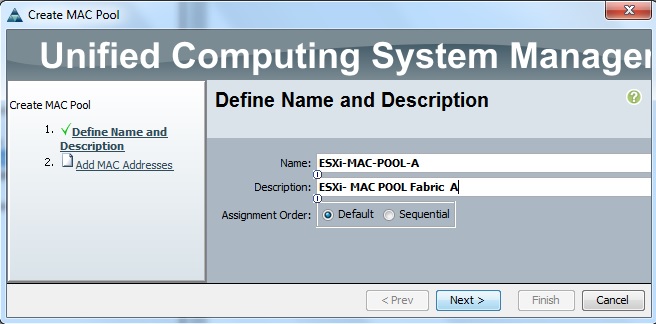
4. Enter the MAC pool name (Specify “A” in the end of the name) and enter the meaning full description.
Clik here to view.
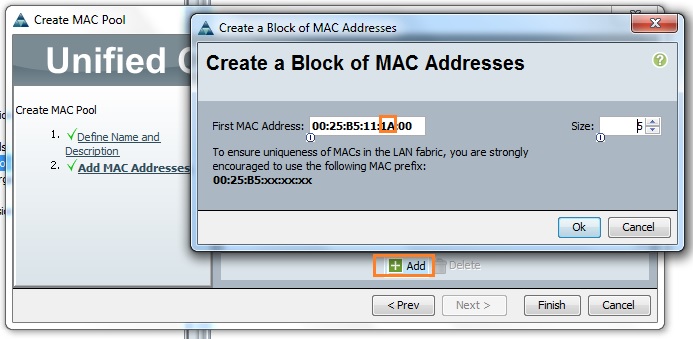
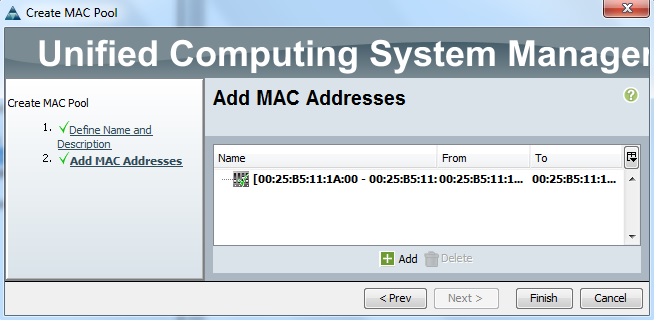
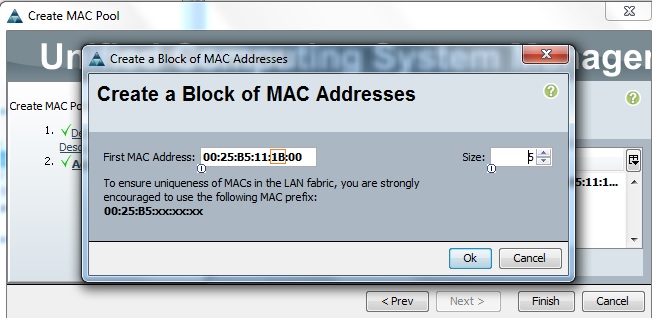
5. Enter the first MAC address for sub-organization “ESXi-servers pool ” and enter the size.
Clik here to view.
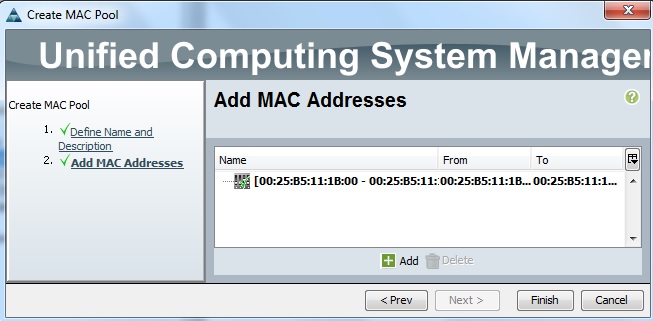
6. Click Finish to complete the wizard.
Clik here to view.
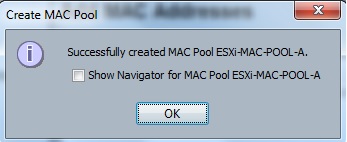
Here you can see that MAC pool has been successfully created for Fabric A.
Clik here to view.
Create MAC pool for Fabric – B (For Sub-organization – ESXi-Pool)
1. Right click the “MAC Pools” and click on “Create MAC pool” .
Clik here to view.
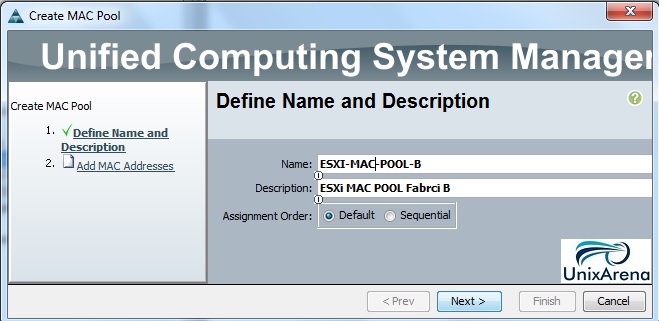
2. Enter the MAC pool name (Specify “B” in the end of the name) and enter the description.
Clik here to view.
3. Enter the first MAC address for Fabric B and enter the size .
Clik here to view.
4. Click “Finish” to complete the wizard.
Clik here to view.
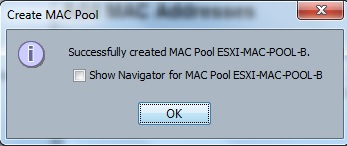
You will get the pop-up like below on successfully completion of the MAC pool creation.
Clik here to view.
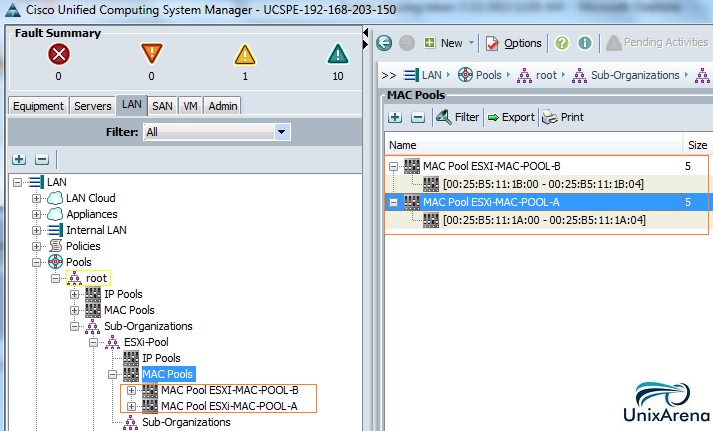
Once you have created the MAC pools for both Fabric A & B , you can see the MAC pool information like below.
Clik here to view.
Hope this article is informative to you. In the next article ,we will see that how we can create WWPN pools using Cisco UCS manager.
The post Cisco UCS manager – How to Create the MAC POOL ? appeared first on UnixArena.