To install Redhat enterprise virtualization hypervisor(RHEV-H), You need a hardware with “virtualization Technology”(VT-X) enabled processors.Once you have such a hardware ,then you can start installing RHEV-H on it. You need to download the bootable “Redhat enterprise virtualization hypervisor” ISO image from Redhat website with valid subscription. If you do not have one , Redhat is providing 60 days trail for RHEV. Just sign up using corporate email address and download the ISO. This article is going to demonstrate the “redhat enterprise virtualization hypervisor” installation with step by step screenshots. At the end of this article, we will see how we can install this hypervisor on top of VMware workstation for learning purpose.
Minimum Hardware Requirements:
- 2 GB Memory (Only for host)
- 1 CPU (VT-x enabled CPU)
- 10GB HDD
- 1 NIC
Redhat Enterprise Virtualization – Hypervisor Installation
1.Burn the ISO image in DVD and insert in Server’s DVD drive .Make sure that you have set the DVD as first bootable device.
2.Once the system is booted from DVD , you will get screen like below.
Booting from RHEV-H DVD
3.Select the boot options and click on tab to edit the installation mode.
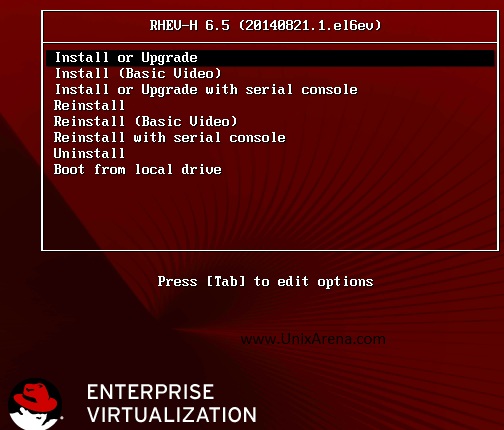
Select the boot option and press tab to edit the mode
4.Remove the “quiet” from the boot options to disable the quiet mode installation.(I would like to see what’s going on the system)
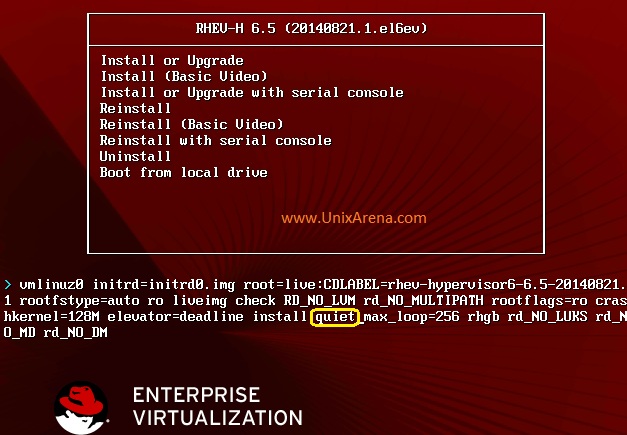
Remove the “quiet”
After removing “quiet” , screen must something like below.Just press “enter” to boot the system.
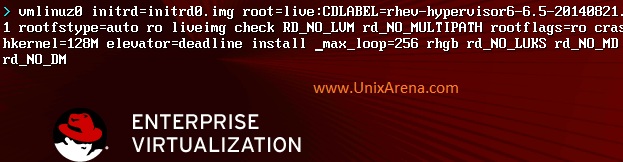
After removing “quiet”
5.You can see that kernel is loading for the hypervisor installation.

Kernel is loading
6.Select the “Install hypervisor 6.5-xxxx” and press enter to continue.
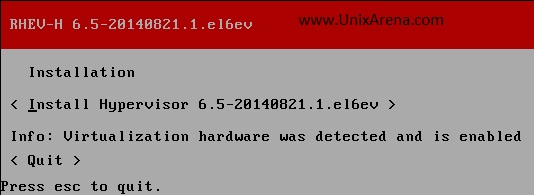
Select the Hyper-visor image to install
7.Select the keyboard layout and continue the installation.
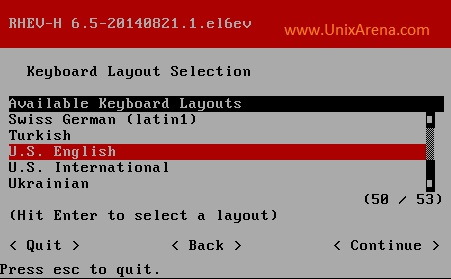
Selecting the keyboard layout
8.Select the internal disk for hypervisor boot partition.
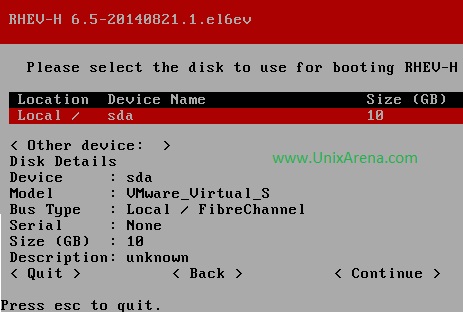
select the disk
9.Select the same disk for RHEV hypervisor installation.
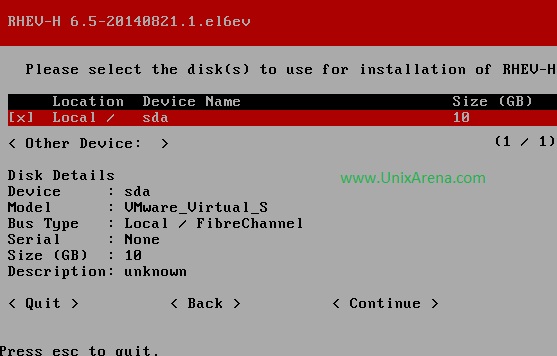
RHEV-H install disk
10.Let’s go with default partitions and system calculated size .
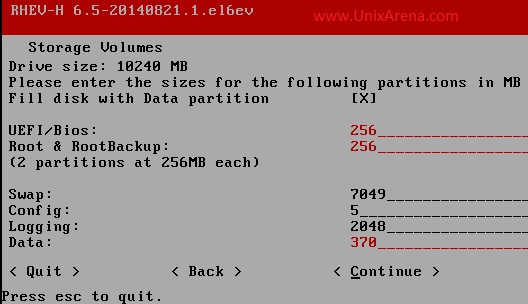
Partition size
11.Set the admin password. This is the super user for RHEV-H .Click install to proceed with installation.
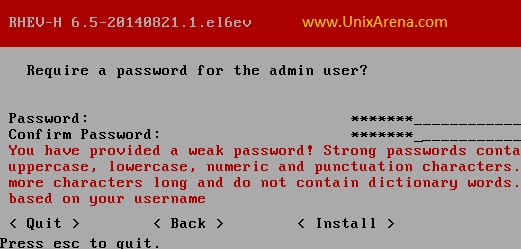
Set the admin password
12.Installation kicks and completes like below. Select “Reboot” to boot from harddrive.
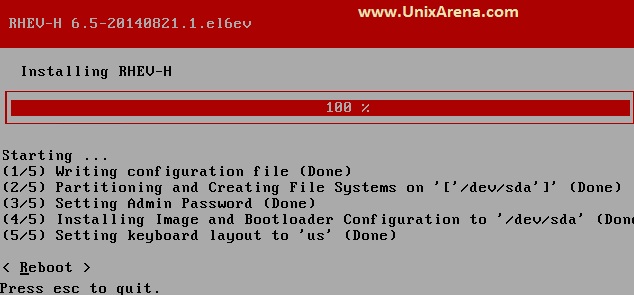
Installation completed
13.Remove the DVD or alter the Bios option to boot the system from local harddrive.
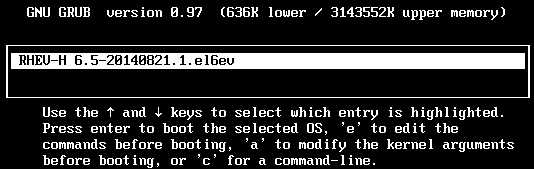
Grub Menu
14.Once the system is up , you can see the console screen like below.
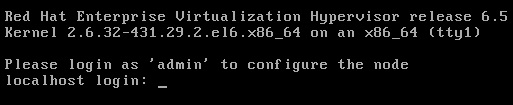
RHEV-H console screen
Click on Page 2 to see the post configuration and how to setup the RHEV-H on VMware workstation.
The post Redhat Enterprise virtualization- Installing RHEV-H appeared first on UnixArena.