Once you have installed the VMware ESXi 6.0 using the interactive installer , You need to configure the network and set the hostname. By default, it takes the IP from DHCP and it sets the hostname as “localhost”. In this article ,we will see the post installation of VMware ESXi 6.0. In the Enterprise setup, ESXi hosts will be managed via VMware vCenter server. To connect to the vCenter server , you must have assigned the valid IP address on the ESXi host. In this article, we will see that how to set the static IP address on the ESXi 6.0. In the end of the article, we will see the demonstration of changing the ESXi hostname.
Configuring the Static IP on VMware ESXi 6.0
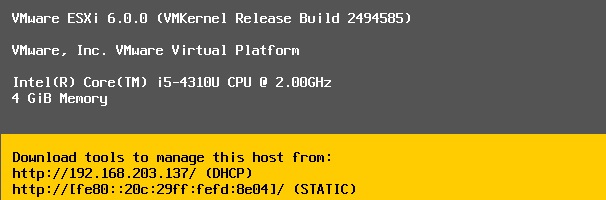
1. If you have followed the previous article, you can see that, system has been installed successfully and it has been booted with DHCP IP.
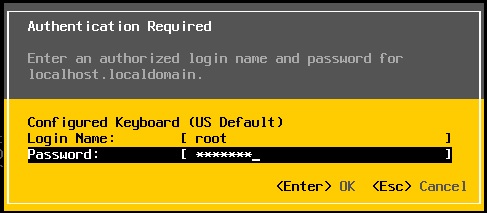
2. Press F2 to get the login screen. Login as root user.
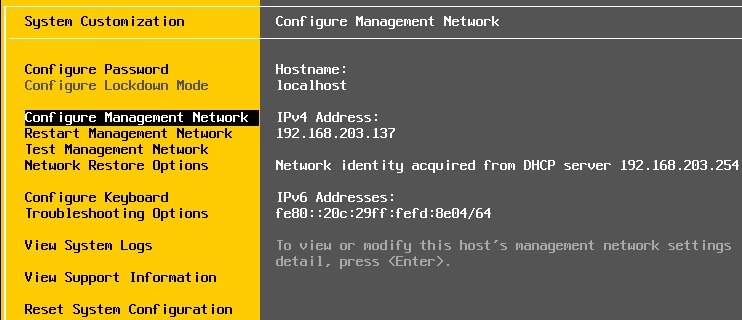
3.Use the arrow keys and navigate it to “Configure Management network” & Press Enter.
4.Navigate to IPV4 using the arrow keys and press enter.
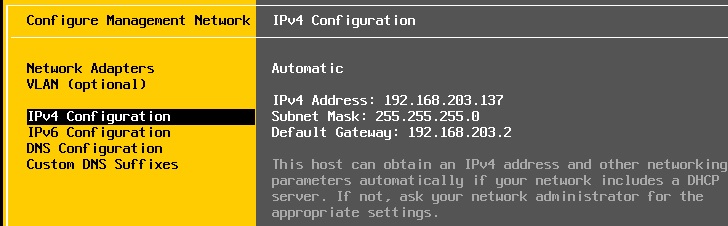
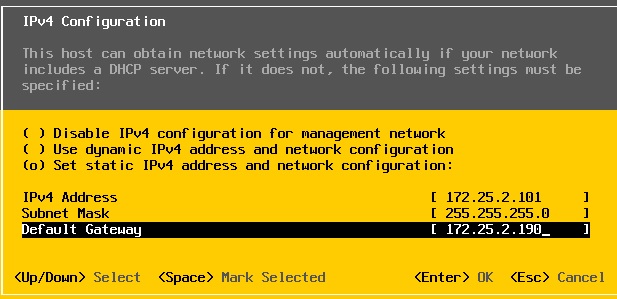
5.Use the arrow keys and select “set static IPv4 address & network configuration” and enter the IP/Netmask/gateway details. < Enter > OK
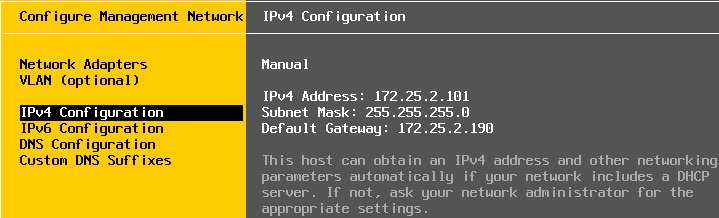
You will be re-directed to the below screen after setting the new static IP.
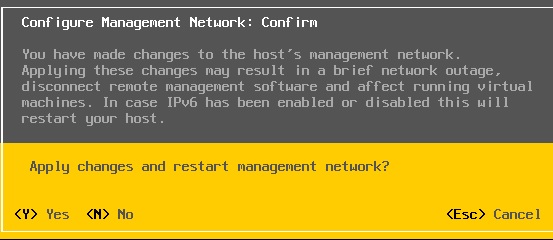
6.Press “Esc” key . It will prompt you to restart the management network services. Select “yes” to restart it .
Changing the hostname for VMware ESXi host:
1. Navigate to “configure Management Network”

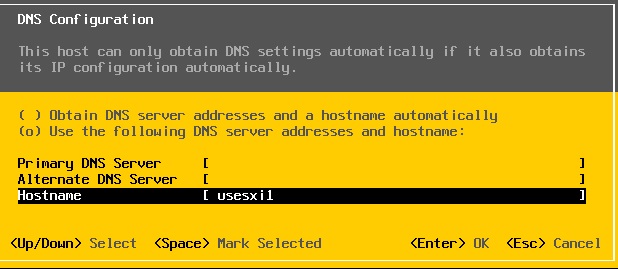
2.Navigate to “DNS configuration” and press enter
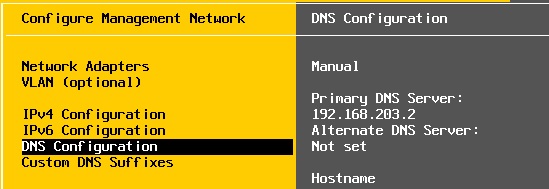
3.Enter the hostname and update the DNS server details.
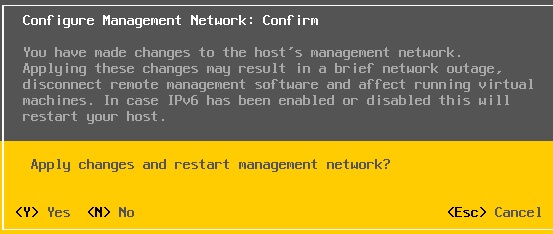
4.Press “Escape” to save the host configuration and restart the network . press “Y” to continue.
5. Verify the hostname & IP information which we have changed .

We have successfully configured the VMware ESXi networking and changed the hostname. At this point, our ESXi host is ready to connect with vCenter server.
Hope this article is informative to you .
The post How to Configure the networking on VMware ESXi 6.0 ? appeared first on UnixArena.