nmlci is a wonderful command to configure the network profiles on Redhat Enterprise Linux 7. nmcli also supports the command completion function by pressing “tab” key but still you need to use the quotes properly. nmtui is an alternative command for nmcli which is based on “Text User Interface”. It will be useful for RHEL-7 Beginners but experienced system administrators will still prefer to use nmcli. Let’s play with nmtui .
Note: nmtui can be executed from putty and it doesn’t require graphical display.
Adding the new connection using nmtui
1. Login to RHEL7 and execute “nmtui” in putty terminal.
[root@server1-UA ~]#nmtui
2. Select edit connection and enter OK to continue. (use tab key to navigate).
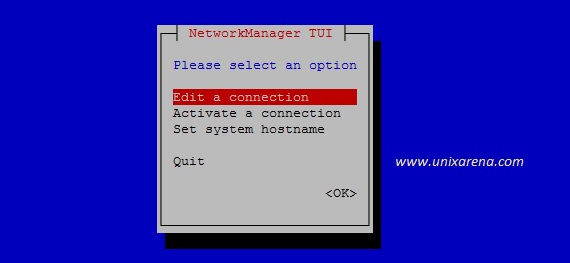
RHEL 7 nmtui
3. Here you can see the current network profile(System eth0). Select the “Add” and press enter to add new connection profile.
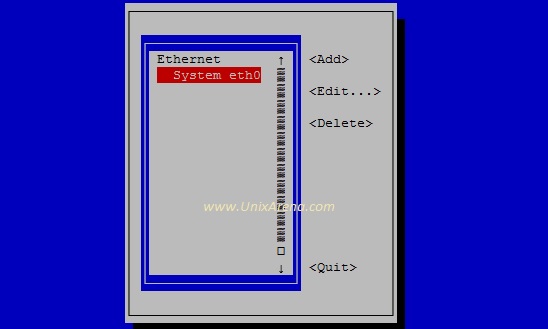
RHEL 7 – nmtui
4.Once you select “Add”, you will get the below screen . Select “Ethernet” and create it .
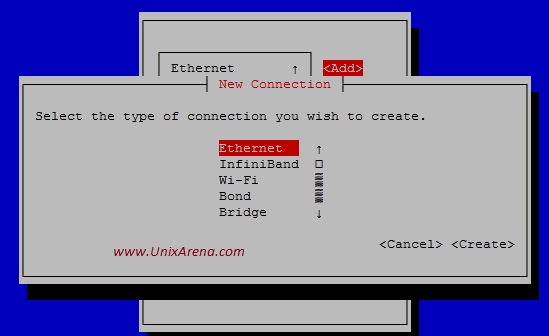
RHEL 7 nmtui
5.Enter the new profile name and device name(existing device) for the new connection. Select the “Automatic” and press enter.
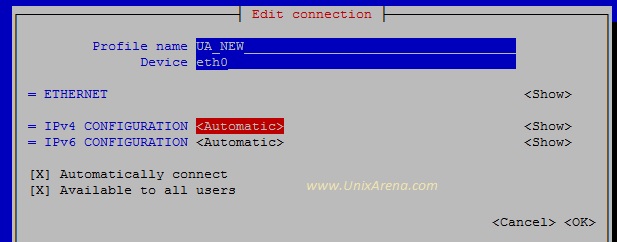
RHLE-7 nmtui
You will get a option to select the connection type like below. Select “Manual” , if you want to configure the “static” IP.

RHEL-7 nmtui
6.Click on the “show” for IPv4 configuration.
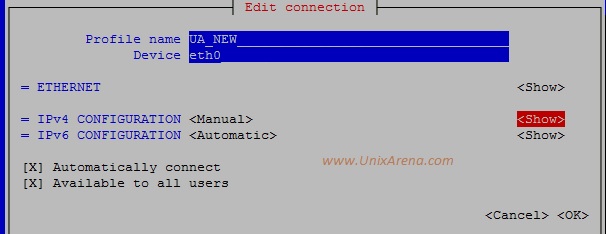
RHEL 7 nmtui
7. Enter the IP,gateway and DNS servers details. Click “OK” to complete it .
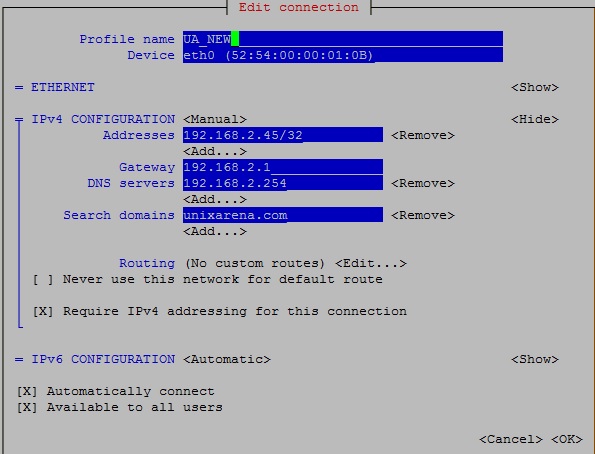
RHEL 7 nmtui
8. Quit the nmtui .
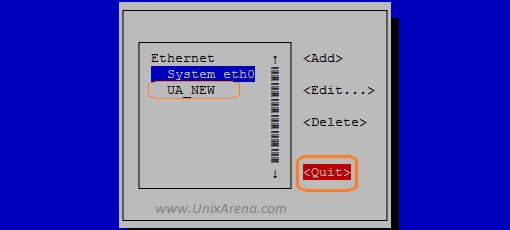
RHEL-7 nmtui
At this point, we have successfully created the new network connection profile.But yet to activate it .
9. Let me activate the newly created profile using “nmtui”. Launch nmtui again. Select “Activate a connection” and press “OK”.
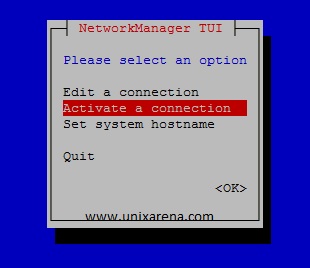
RHEL-7 nmtui
10. Select the connection and activate it . At this point , your system will be switched to the new profile. So always activate the connection from console.
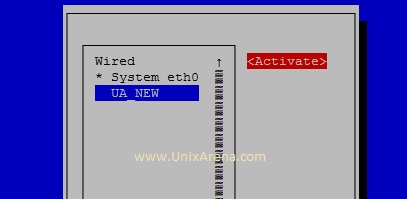
RHEL-7 nmtui
11.Let me check the connection details using nmcli command.
[root@server1-UA ~]#nmcli connection show
NAME         UUID                                  TYPE            DEVICE
UA_NEW       52569531-42ff-4b0d-91e8-b7d07d19c697  802-3-ethernet  eth0
System eth0  5fb06bd0-0bb0-7ffb-45f1-d6edd65f3e03  802-3-ethernet  ----
[root@server1-UA ~]#
12. Check the IP and route details using “ip” command.
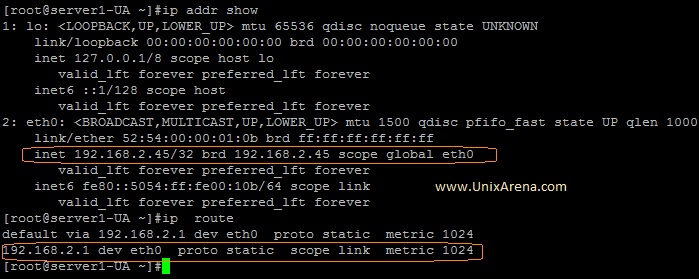
RHEL-7 nmtui
We have successfully configured the new network profile and activated using nmtui
Hope this article is informative to you .
Share it ! Comment it !! Be Sociable !!!
The post RHEL – 7 Network Management – nmcli or nmtui appeared first on UnixArena.