Redhat has made a lot of changes in Redhat Enterprise Linux 7.0(RHEL 7) when we compared to the previous versions. These changes likely to remind me that what oracle has done with Solaris 11. Most of the operating system vendors are forced to include many virtualization technologies to support the cloud and Redhat also one among them. Redhat has completely changed the service management , booting process, Firewall and networking in RHEL7. The Redhat Linux enterprise Linux 7’s installation method also got changed little bit but its very simple. Let’s see that how we can install the REHL 7 .
1. If you would like to install the Redhat Enterprise Linux 7 in to the physical machine , insert the RHEL7 DVD on to the drive and boot from DVD.
2. If you want to install the RHEL 7 on the VMware virtual machine , create the virtual machine with guest operating system as “Other Linux 3.x kernel 64 bit” (If your hyper-visor is not supports RHEL7).
3.When the system is booting from DVD , you will see the message like below.
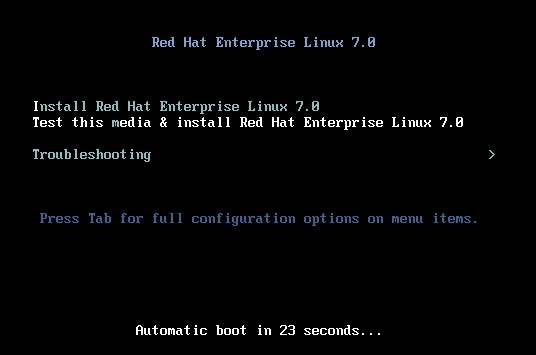
RHEL 7 Installation
2. You can skip the media check by pressing the Esc key .
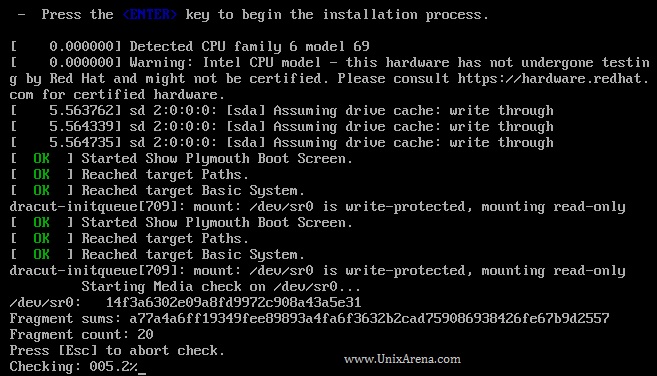
RHEL 7 Installation
3.Select the language and Continue.
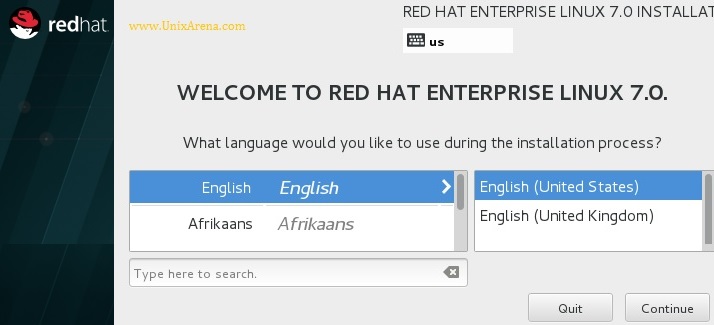
Select the Language
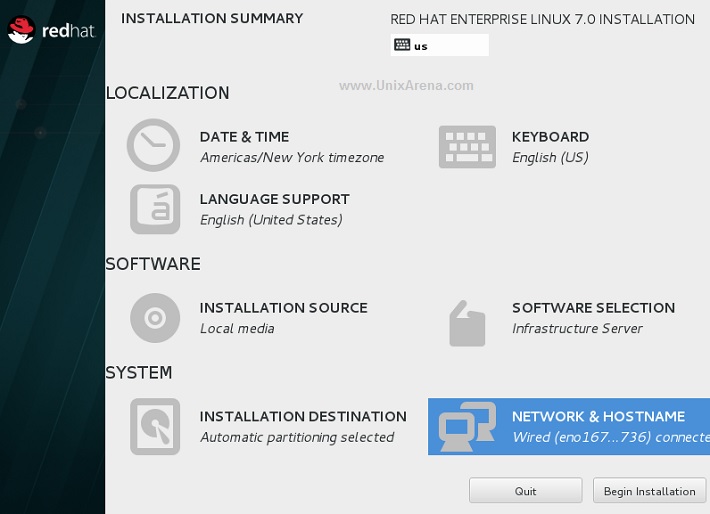
4.Unlike the previous versions, RHEL 7 is not going to waste your time by asking lot of questions. Here is the menu, where you can give the few informations for the installation.
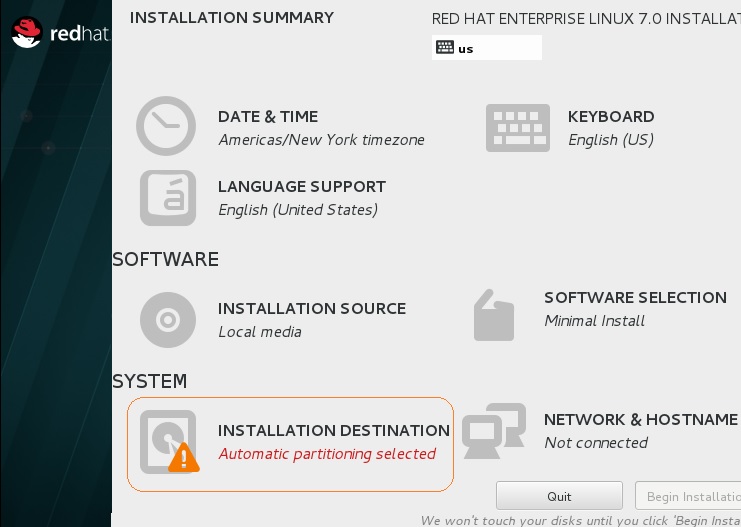
RHEL MENU
5. Once you click the “INSTALLATION DESTINATION” , you can select the disks for the installation. You have option to add the disk from ISCSI or FC for SAN boot. ” Add a Disk ” option will take you there. Here I have selected the Local disk for the installation . Click on “Done” to continue.
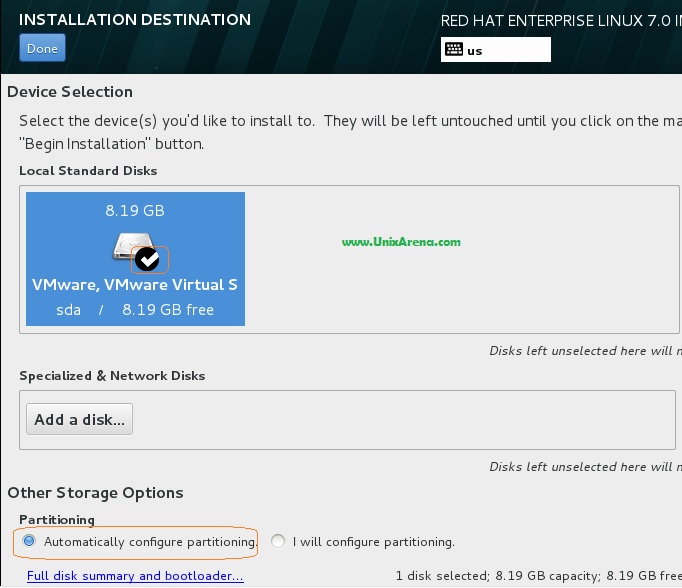
Local Media , ISCSI
Note: Here i have selected the automatic partitioning.
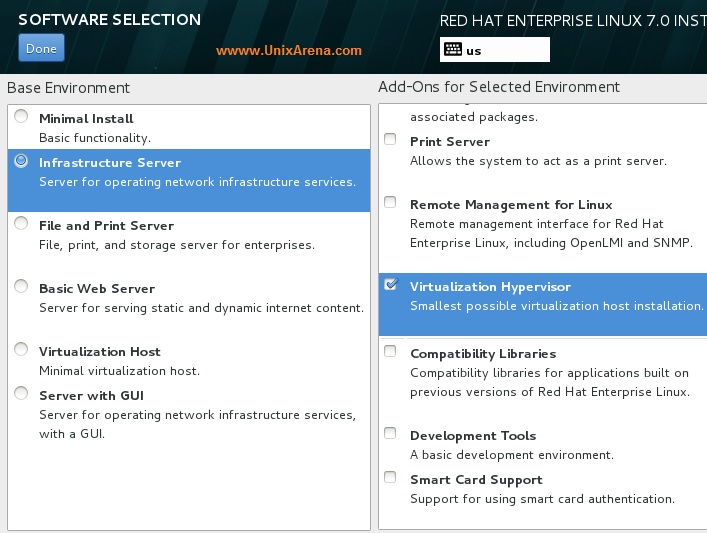
6. Click on “SOFTWARE SELECTION” . Here I have choosen “Infrastructure server” and add-on was “virtualization hypervisor”. Click on “Done” to continue.
7.Click on “Network & Hostname” (Refer screenshot – step 4) to configure the system network and setting the hostname. You need to “Turn on” the Ethernet adapter to configure the host in network. (By clicking the “OFF” button).

RHEL 7 Network
Click on “Configure” to set the static IP-address. By Default , it has chosen the DHCP IP address.
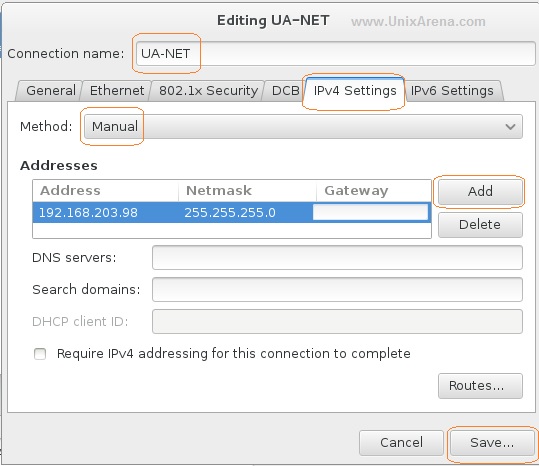
Static IP
Here you can see the IP-address which have been configured in the previous screen.
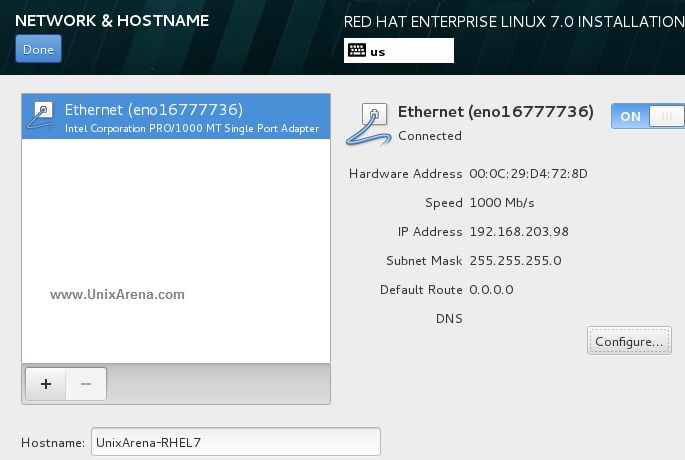
Network
8.Let’s begin the installation .
RHEL 7 Installation
9.Configure the root password. Click on “Done” to continue.
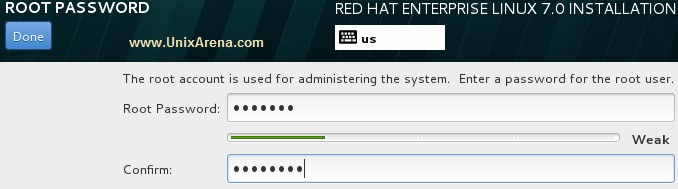
Setting the root password
10. Once the installation is completed , you need to reboot the system .
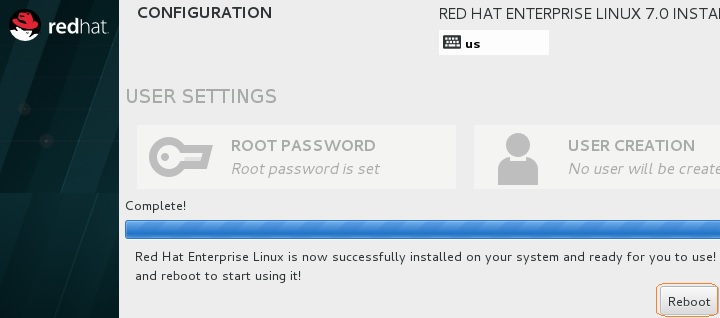
RHEL 7 Installation
11.After the system reboot, you will get the console like below.

Redhat Enterprise Linux 7
We have successfully installed the Redhat Enterprise Linux 7 Server .
Note: RHEL 7’s default root filesystem is XFS
Hope this information is informative to you . Share it ! Comment it !! Be Sociable !!!
The post Redhat Enterprise Linux 7.0 Installation appeared first on UnixArena.